How to Fix a Leaking Tap at Home (Step-by-Step Guide)
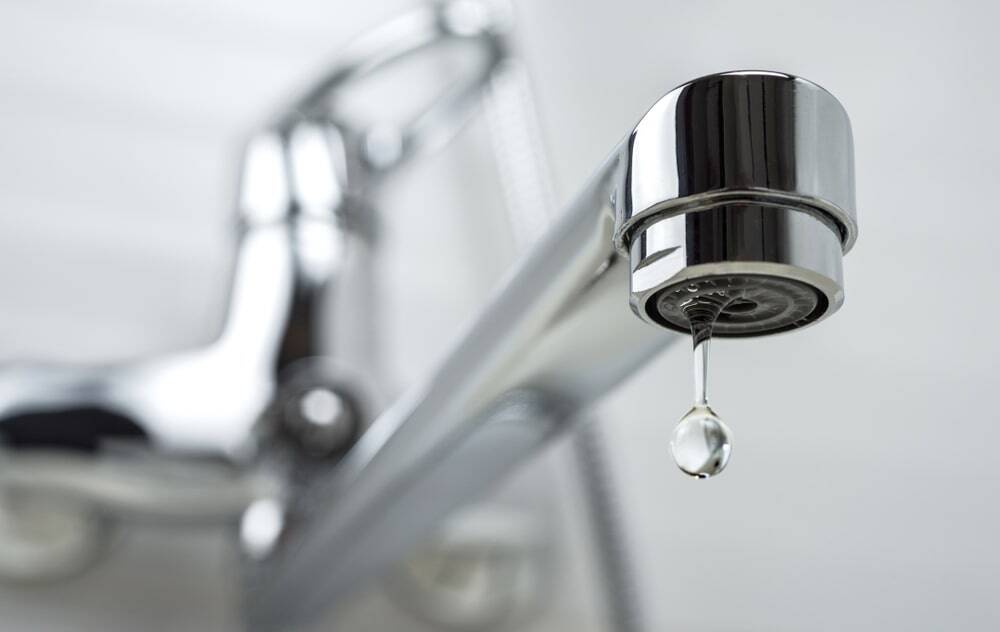
A leaking tap is one of the most common household problems. Even a small drip can waste a lot of water over time and increase your utility bills. The good news is that fixing a leaking tap at home is usually simple and does not require professional help.
This guide will help you repair a leaking tap step by step using basic tools.
Tools You Will Need
Before starting, gather these simple tools:
Adjustable wrench
Screwdriver
Replacement washer or rubber seal
Cloth or towel
Plumber’s tape (optional)
Step 1: Turn Off the Water Supply
First, locate the water valve under the sink or main water supply and turn it off. This prevents water from flowing while you work.
Step 2: Remove the Tap Handle
Use a screwdriver to remove the screw holding the tap handle. Carefully take off the handle to expose the internal parts.
Step 3: Unscrew the Valve
Use an adjustable wrench to unscrew the valve or spindle. Do this slowly to avoid damaging any parts
Step 4: Check the Washer
Inside the tap, you will usually find a rubber washer. This is often the main cause of leakage. If it is worn out or damaged, replace it with a new one.
Step 5: Replace the Washer
Install a new washer of the same size. Make sure it is fitted properly to avoid future leakage.
Step 6: Reassemble the Tap
Put all parts back in reverse order. Tighten the valve and reattach the tap handle securely.
Step 7: Turn On Water and Test
Turn the water supply back on and check the tap. If installed correctly, the leakage should stop.
Extra Tips
Always use good quality washers for long-lasting repair
Do not overtighten parts, it may damage the tap
If leakage continues, the tap body may need replacement